Shooting landscapes can be incredibly rewarding and it’s a great way to polish up your photography skills. Whether you prefer the wild rugged mountains, sweeping coastlines, idyllic rural scenes or the highrise city, there are 5 key components that help create an evocative landscape shot, and they’re easy to put into practice.
Read on to discover how you can use these different ingredients to transform your scenic shots.
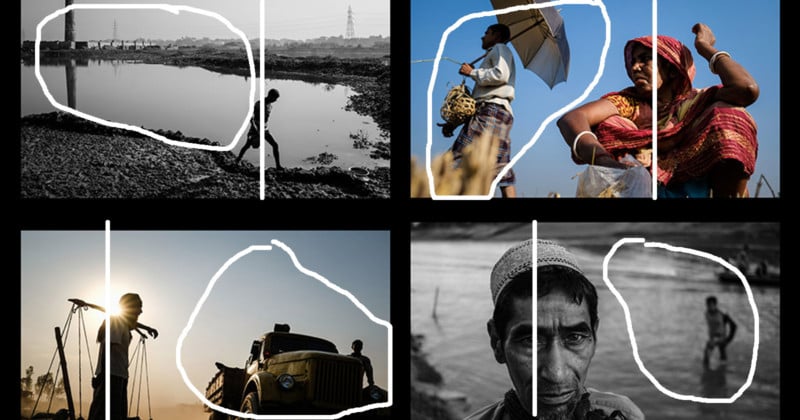
1) Composition
Fine-tuning your composition takes just a few moments, but it will have an enormous impact on your landscape shots and help transform it into something truly captivating. To start with you need to consider three of the basic compositional rules of photography and how they can be implemented to improve your shot.
Lots of photographers use a compositional tool known as the Rule of Thirds, and this helps them to decide where in the frame to place the key focal points of the scene. Imagine your image is divided into equal thirds, with two lines running horizontal and two lines vertical to carve up the frame into equal portions. This imaginary grid can be used to create balance and harmony within your shot. For example it’s usually best to position the horizon on either the upper or lower dividing horizontal line, rather than the middle of the shot. Within the frame, you should be looking to place any key point of interest where any of these dividing lines intersect. This helps you avoid placing key subjects in the middle of the frame – or too close to the edge – where they will lose impact.
Use the Rule of Thirds to decide where to position the main point of interest
Another compositional trick to help enhance your landscape is to use lead-in lines. Look out for elements in your scene that are linear in nature and trace through the frame. This could be a stream, a path, debris on the tideline: anything that could be considered a line. You can use these when framing up to help guide the viewer’s eye towards to main point of interest. Ideally they would enter the frame from an edge or corner, and lead towards the most vital part of the scene, subtly telling the viewer what you want them to be looking at.
The path in this image helps guide the viewer's eye towards to the focal point
A way to add further impact to your scenics is to include foreground interest when you’re framing up. This helps anchor the shot, and brings the viewer into the scene. It could be a patch of flowers, some rocks or even some traffic signs painted onto a road. Look around you when you’ve found the view you want to capture and see what foreground interest you could include. It helps to use a wide angle lens and get a bit lower to the ground, but by using you’ll help connect the near and far and create a more compelling image.
The rocks and vegetation help anchor the scene and connect the near and far
2) Time and light
Capturing truly compelling landscapes requires both planning and patience. One of the key factors for a powerful scenic is evocative light, and this is the one element essentially out of your control. The best light is often found shortly after sunrise and an hour or so before sunset. This is known as the Golden Hour, and at these bookends of the day you’ll find richer, warmer light and the low angle of the sun casts long shadows, adding an almost 3D relief to the land. It’s best to avoid the middle of the day when the sun is overhead, as the light is at its coolest, and the direct angle makes is less flattering for landscapes. So plan your trip to coincide with the best light, and when you’re at your chosen location you may need to wait and watch the scene to see how the light is changing. At these times of the day the light and colours change quickly, and having a little patience is worth it so you can be sure you’re capturing the scene at its best.
Shooting during the Golden Hour will give landscapes a magical feel
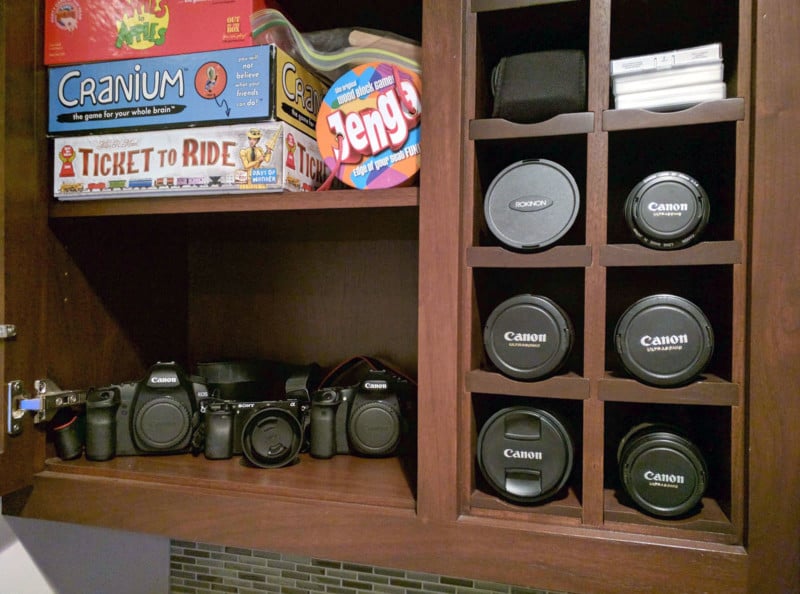
3) The gear you use
Most landscape photographers prefer to use a wide angle lens, as these allows them to capture more of a scene in a shot. On a full frame camera, you’ll find a 16-35mm lens serves you well, whereas on a camera with an APS-C sensor you’ll achieve a similar field of view with a 10-20mm lens, due to the 1. 5x crop factor.
Using a wide angle lens will allow you to fit more of the scene into the frame
Another essential bit of gear for shooting landscapes is a tripod. Quite often you’ll be shooting with slower shutter speeds, so to avoid camera shake and keep your detail sharp you’ll need to keep your camera stable during the exposure, so a tripod is best. Also consider investing in a shutter release cable, as this prevents you from touching the camera to take the shot, which can cause it to wobble and create blur in your image.
Lots of landscapes photographers also make use of filters to enhance their scenes. One of the most popular for scenics are Neutral Density filters. These are darkened plates of glass that restrict the amount of light entering the lens – a bit like a pair of sunglasses – allowing you to shoot with narrower apertures and slower shutter speeds. This allows you to capture both more depth in an image, while simultaneously transforming any movement – like flowing water – into an artistic blur. Some photographers favour polarising filters, as these reduce the amount of reflected light which helps to boost blue skies, make vegetation appear more lush and cut back on reflections from the surface of water so it appears almost glassy.
With a Neutral Density filter you can shoot with slower shutter speeds to blur motion
4) Using the right settings
The best place to start with shooting settings is to use Aperture priority (A or Av on the mode dial). This lets you control the opening within your lens which affects the size of the depth of field, meaning how much of the image is held in sharp focus. For landscapes it’s usually best to have a large depth of field, so detail is sharp both at the front and rear of the scene. To do this, you need to use a narrow aperture which is indicated by a higher f/number, so you want to be dialling in an aperture setting somewhere between f/11 and f/22, and usually around f/16 is the optimum aperture for scenics.
Use a narrow aperture to create a large depth of field for sharp detail near and far
To maximise the image quality, set your ISO to its lowest setting, usually ISO 100. This means you won’t encounter any grain (digital Noise) in your images and colours will be at their truest. As you’re shooting with a small aperture and a low ISO, your camera will select a relatively slow shutter speed to capture enough light for a balanced exposure. As your shutter speed is slower, it’s essential you use a tripod to avoid camera shake.
5) Edit like a pro
Learning how to edit your shots to bring out the most detail and enhance the colours is a separate skill but will transform your shots into crowd-pleasers. To do this it’s best to shoot in RAW and edit your shots in software like Lightroom or Adobe Camera Raw found in Photoshop. You can precisely control the detail within the tones, the contrast, colours, sharpening and a whole host of other adjustments that will boost any captured scene.
Editing your images is essential if you want them to look their best
Once you’ve made your global adjustments, you can begin making local adjustments that affect only areas you target. For example it’s simple to transform the sky and increase the drama with the Graduated Filter tool, or perhaps you want to increase detail and reduce contrast in some areas that fell into deep shadow, so you can paint effects in with an Adjustment Brush.
Straight out of the camera any shot won’t look its best and can be improved with a little post-processing. Make sure you don’t avoid this step as quite often this is really where the magic happens!
Without any editing this shot is underexposed and looks amateur
By processing in Lightroom it's easy to take control of the appearance of scenics
. digitalrev.com2017-10-23 03:00