Apple's dual-camera setup can create a depth map to simulate background blur - but now, someone's figured out how to simulate lighting effects with an impressive level of control. Apple's dual camera devices (the 7 Plus, 8 Plus and X to be precise) generate a depth map to create the effects of Portrait Mode and Portrait Lighting that we've all come to know well.
Whether you love, hate or feel generally 'meh' toward fake background blur, things get interesting when Apple makes that depth map information available to third party app developers. Enter Apollo: Immersive illumination, a $1. 99 iOS app with an unusual name and a few interesting tricks up its sleeve.
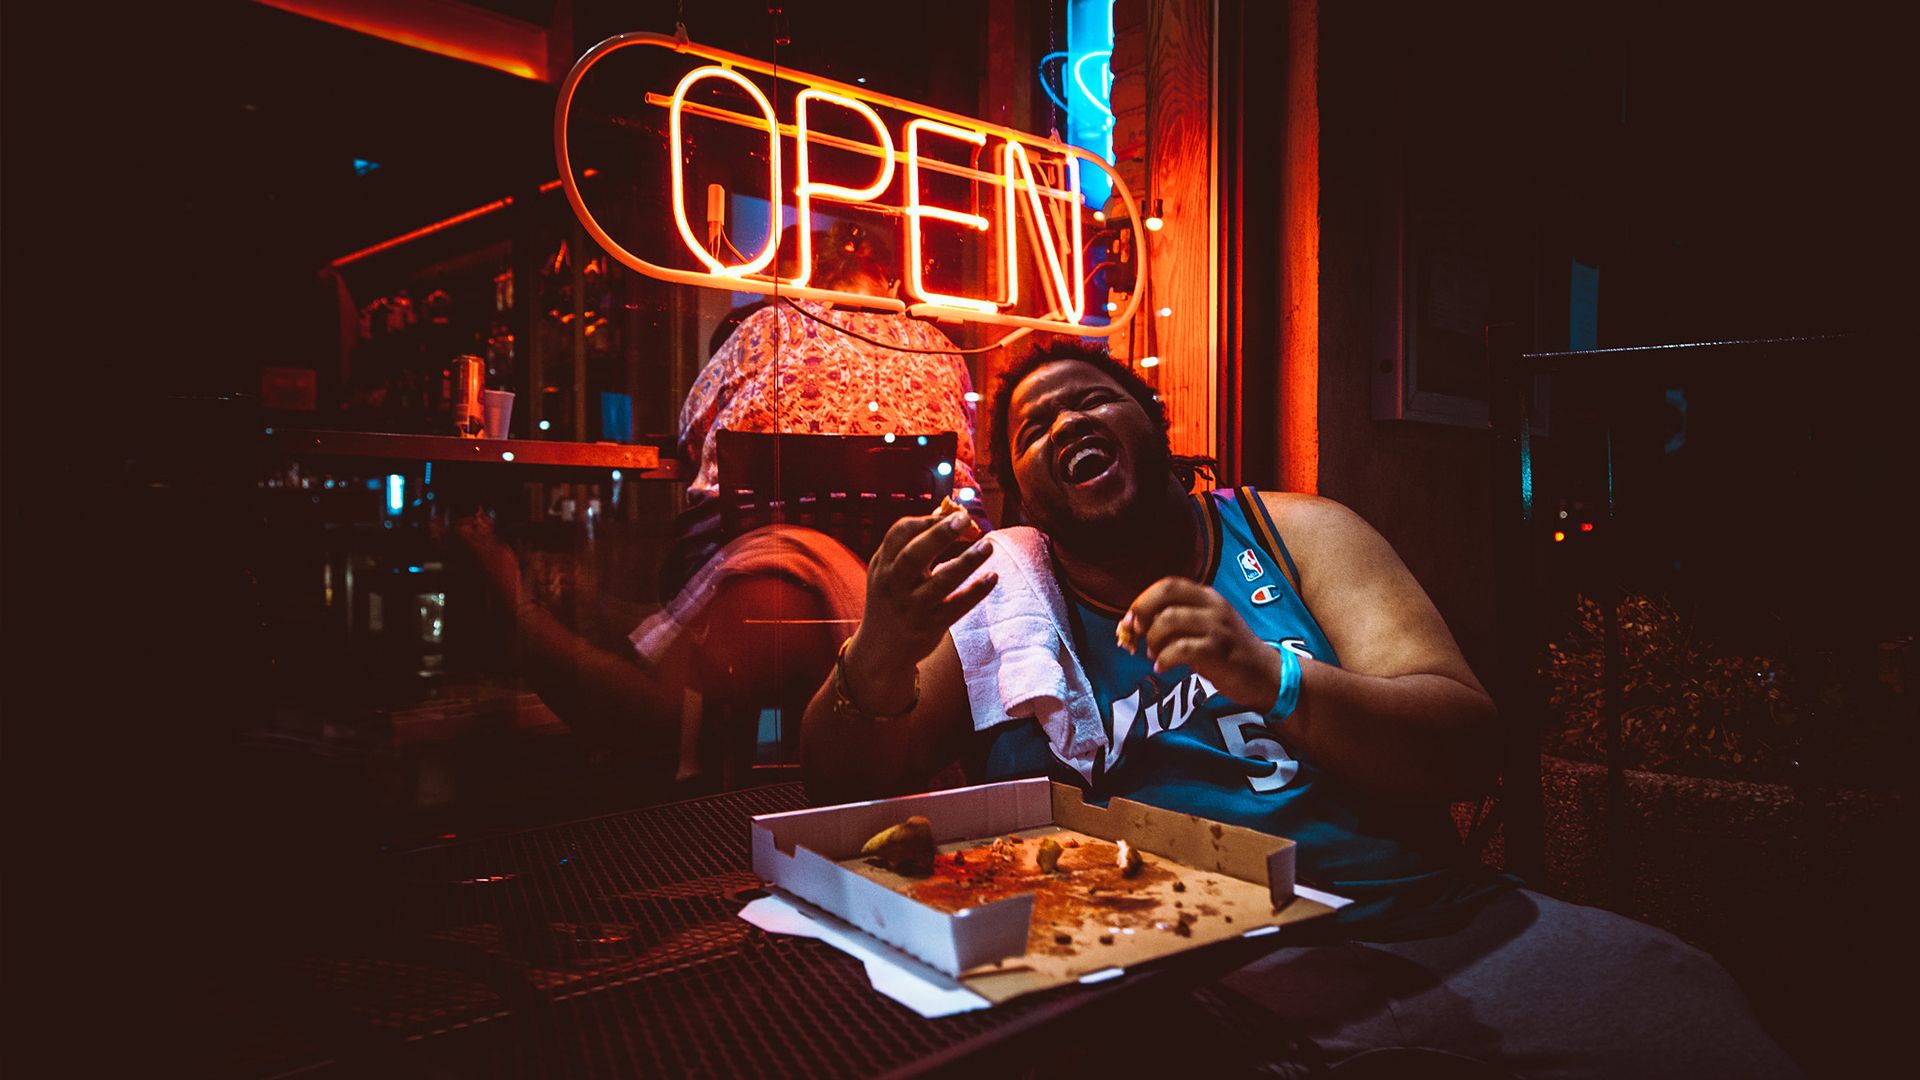
Apollo uses the depth map not for background-blurring purposes, but to allow users to add realistic lighting effects to photos after they're taken. Up to 20 light sources can be positioned throughout an image, with the ability to adjust intensity, color and distance. With the depth information provided, light sources interact with subjects in a three-dimensional fashion, and can even be positioned behind a subject to create a rim light.
It's hard not to be a little taken aback the first time you drag a light source around your image and see how it interacts with your subject
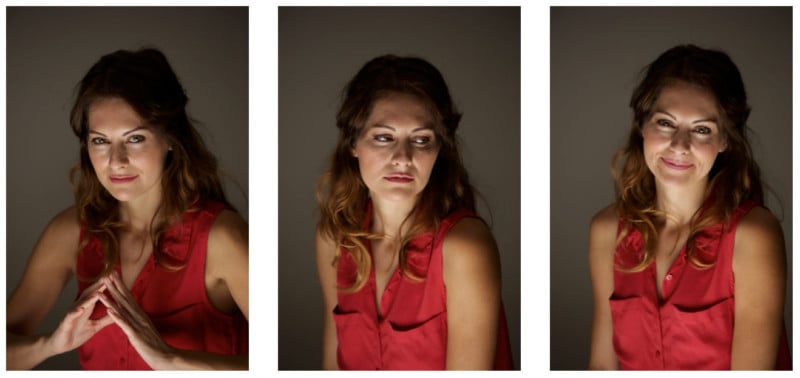
It's essentially an interactive version of Apple's Portrait Lighting, which applies different light style effects to images. Apollo's effects are highly customizable, and with so many parameters to play with it's naturally quite a bit more complicated to use than Apple's very simple lighting modes.
In use
We've been messing around with the Apollo app (for an admittedly short period of time), and have to say we're impressed with what it's capable of - but that doesn't mean we don't have a few requests for the next version.
$(document). ready(function() { SampleGalleryV2({"containerId":"embeddedSampleGallery_7103999524","galleryId":"7103999524","isEmbeddedWidget":true,"selectedImageIndex":0,"isMobile":false}) });
Click through to see the images full-screen and see how many lights were used in the Apollo app.
It's hard not to be a little taken aback the first time you drag a light source around your image and see how it interacts with your subject(s). You are able to adjust the color, brightness and spread of your source, which are all fairly self descriptive.
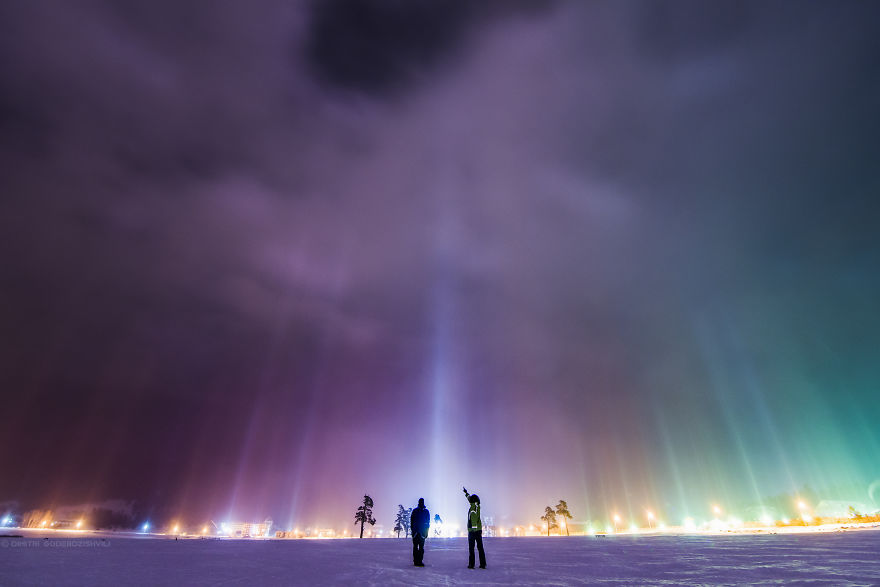
You can also change the 'Distance' of your light, or it's position in Z-space; this means you can move the light to be closer to you, the photographer, or further away into the background of your scene.
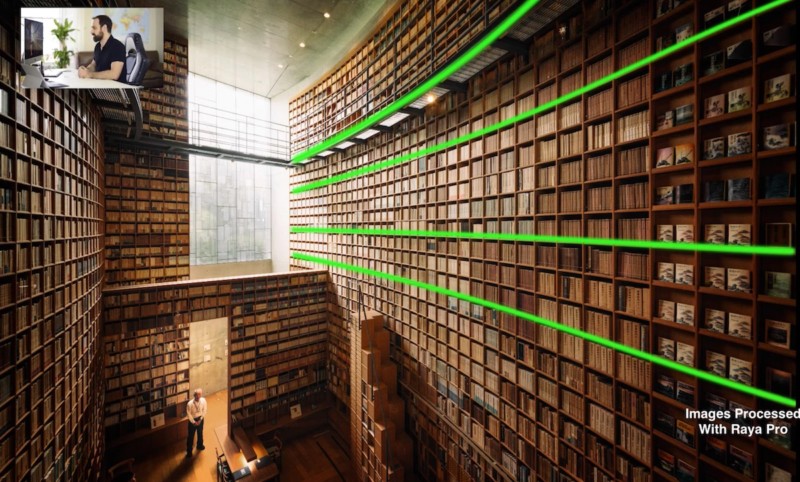
Lastly, there are two global adjustments, 'Shadows' and 'Effect Range. ' Shadows essentially controls overall image brightness, though it biases toward the darker tones. Effect Range adjusts the brightness of all of your lights simultaneously in the image, though keeping the brightness ratios between them constant as it does so.
Along the bottom are the parameters you're allowed for each light source you create (up to 20).
Two global adjustments are 'Shadows' which adjusts overall brightness and Effect Range which adjusts the brightness of all lights simultaneously.
Overall, it's an incredibly neat - and kind of addictive - first effort. But there are a few things that we'd like to see addressed in future versions.
Currently, every new 'light' you create starts out with a certain set of default parameters. This is alright, except for the fact that the default color is a yellowy tungsten sort of thing; it should really just begin as 'white. '
Also, if I've already tuned in a 'light' and just want another one based on those, it'd be nice to be able to duplicate one that I've already created instead of having to start from scratch each time.
And once you've finished with your new creation, you can save it out as a JPEG - but there's no way to save the lights themselves so that you can come back and tweak later. Each time you exit to tackle another image, the app asks you, 'Close photo and discard all changes?' Well, I'd rather not discard them, but if I have to, then I suppose that's that.
Lastly, it doesn't look like there's any way to preserve the blurriness of the background once you've added your lights. It'd be great to be able to still take advantage of the depth map and progressive blurring while adding in your own lighting sources.
Wrapping up
Okay, so those are some fairly major requests on our part. But we make them because we're really blown away by what the app already offers, and are excited to see how it evolves. It wasn't so long ago you'd need a powerful workstation and some serious software skills to manipulate lighting in the same way that this app does with a few taps and drags.
If you have a dual camera iPhone and want to give the Apollo app a try, head on over to the App Store yourself and take it for a spin.
. dpreview.com2018-5-23 16:00