If you’re planning a trip or vacation, this is a fantastic opportunity to bag some fresh and exciting photographs for your portfolio or for pride of place on your wall. But travel photography can be challenging, it mixes a range of disciplines including landscape, portraiture, street, low light, architectural and much more.
And the key to creating compelling travel shots – and not just generic holiday snaps – is the ability of the image to tell the story of the place. It takes a little bit of research, consideration, planning and patience to come back with the best type of holiday souvenirs: beautiful images that you have created and will treasure for years to come. So with that in mind, we’ve put together 8 essential tips that will help you transform your travel photography and make your trip a resounding success.
Travel photography blends a mix of disciplines and is incredibly rewarding
1) Travel light
One of the key considerations with travel photography is the kit you take, and striking a balance between bringing what you need and not weighing yourself down unnecessarily. If you’re taking a flight your camera gear will likely be limited to carry on luggage, and for most airlines the bag size is set to around 55x40x20cm. This doesn’t mean you need to cram every lens and filter you own into your camera bag, but instead packing the bare essentials is recommended. After all, you’re going to be carrying it during your stay – often all day long – so think about what you will be comfortable with.
If you decide to only bring one lens, consider a versatile travel zoom such as an 18-300mm or similar. This type of lens is wide enough for landscapes and with a long zoom for candid portraits and wildlife shots, and typically weigh around half a kilo. If you do have room for a second lens in your kit bag, then a ‘nifty fifty’ is a worthy contender. A 50mm prime lens is incredibly compact, weighs under 200g and will allow you to shoot with wider apertures for smoother bokeh or faster shutter speeds in low light.
A travel zoom lens offers a focal range of around 18-300mm
Another item to consider is a travel tripod. They’re lighter and more compact than a regular set of sticks, and will help you keep your camera steady when shooting with slower shutter speeds for low light masterpieces. Remember you’ll also need enough batteries and memory cards to last your trip.
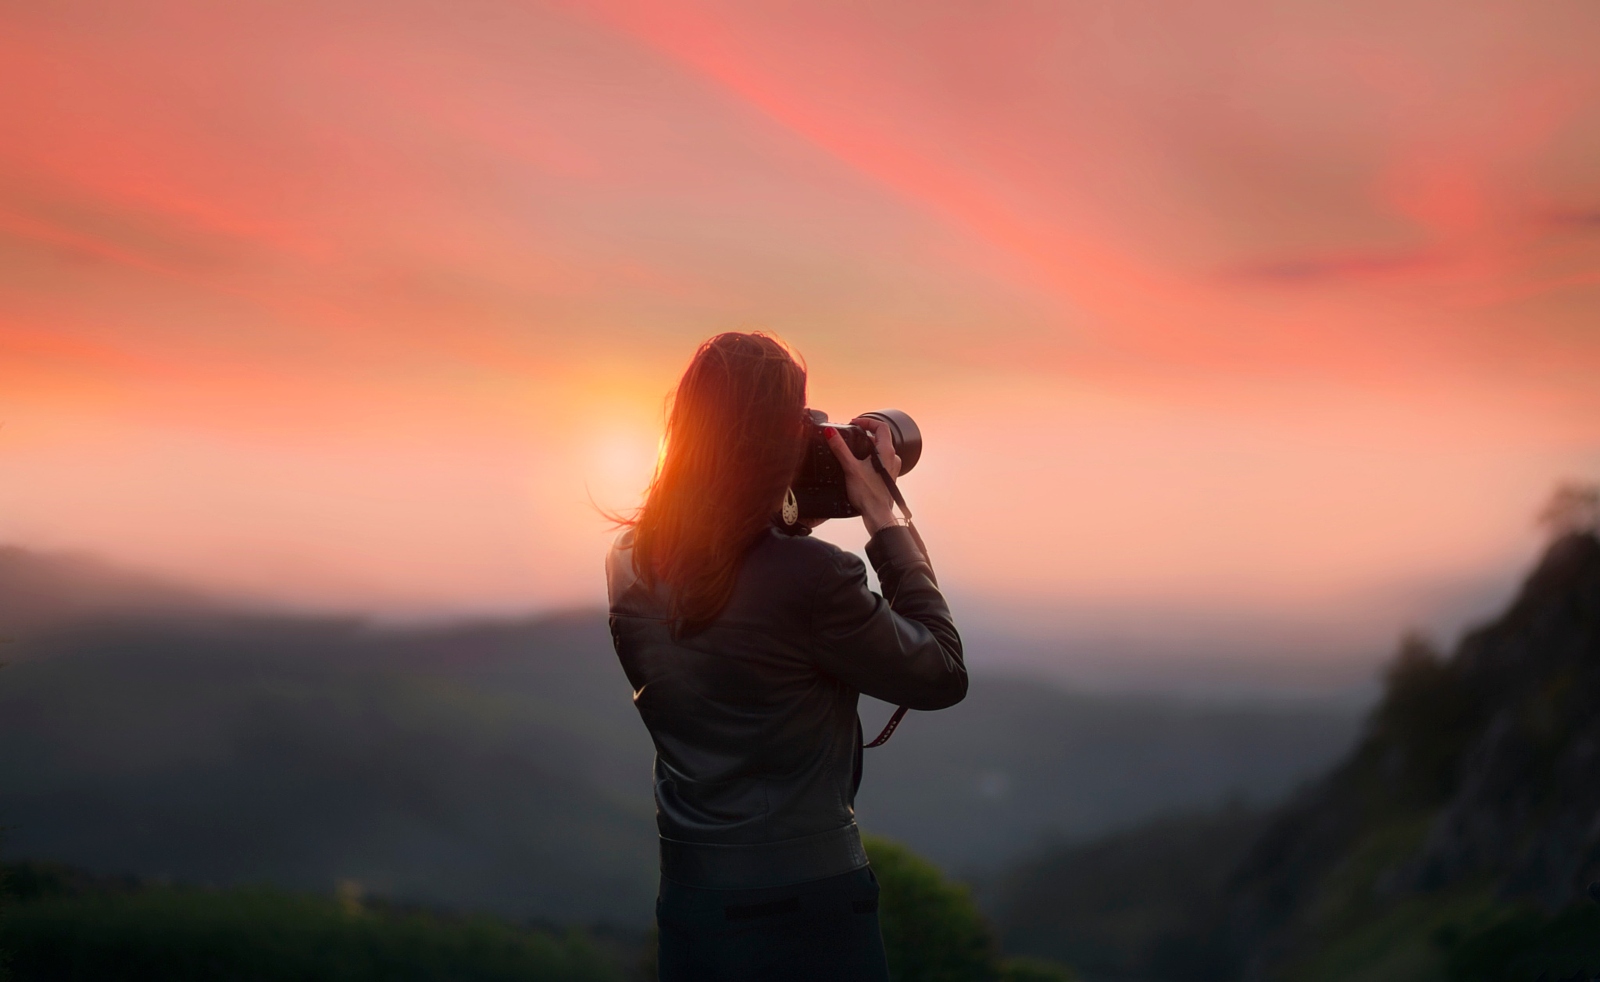
2) Get up early, and stay out late
The light at the beginning and end of the day creates warm colours and good contrast
Some of the best shooting conditions are found at the beginning and end of the daylight hours, when the sun is very low in the sky. This time is known as the Golden Hour, and the warm light casts longer shadows and creates more depth and interest to scenes. If you can get up early, it’s often best to shoot the morning Golden Hour, as you can avoid the crowds allowing you to take up the best photo opportunity spots and also have your pictures freer from distractions.
If you hang around just after sunset for the Blue Hour, there’s still a little light in the sky to show some cloud detail, but the lights of the city will be twinkling to create an interesting interplay between the ambient and the electronic.
During the Blue Hour you can capture the glow of lights and capture ethereal sky detail
3) Research your location
Before you arrive in your location, do as much research as you can into the photo opportunities there. A simple Google Image search will bring up a range of shots from travel companies, bloggers, tourist information sites and from locals themselves. Have a look at what works well, what you’d like to attempt and think about how you can add your own spin to the shot to make it your own.
Recently I was on a short trip to Porto, and wanted to find a way to capture both the impressive Ponte Luis bridge and the medieval old town in a single shot. The sun was setting and so I didn’t have long, and a quick internet search showed there was a location that gave this viewpoint. I quickly made it up there just in time to capture the end of the Golden Hour and the beginning of the Blue Hour, and I came home with a great souvenir of the holiday.
A quick Google search will reveal the best views of particular locations
A view of Porto on the cusp between the Golden and Blue hours
4) Shoot in Aperture Priority
Set your camera to shoot in Aperture priority mode
When you set your camera’s mode dial to Aperture priority (A or Av) you’re responsible for choosing the f/number which controls the depth of field, and your camera will select the required shutter speed for a balanced exposure. For landscapes or street scenes it’s best to select a higher f/number between f/8 and f/16 to create a deep zone of sharpness for enhanced detail. When shooting portraits, wildlife or detail it’s best to choose a lower f/number like f/5. 6 to blur the background and help your subject stand out in the frame. To ensure the shutter speed selected is always fast enough to avoid camera shake, use Auto ISO to keep your shooting speed fast.
5) Meet the locals
Asking strangers if you can take their picture can be daunting, especially if you don’t speak the local language. Learn the very basics such as ‘hello’ and ‘please’, and you can begin to engage with the locals. If they’re involved in an activity, show an interest in what they’re doing, and once you’ve made a connection you can gesture towards your camera to seek permission. You’ll instantly know if they’re happy for you to take their picture or not, and if you can show them the results on screen and they’ll often pose again. You may be able to strike up more of a conversation and they might give you tips on things to shoot while you’re there, or even be invited to their home for tea! Don’t be afraid of meeting the locals and it can open up some truly rewarding and memorable opportunities.
Three generations sat on a step in Havana, Cuba
Show people the photos you have taken to gain extra trust and open new opportunities
6) Plan for photography
If you want to come back with shots you’re truly proud of, you need to plan dedicated photography time into your trip. Rushing around with a busy sightseeing schedule will mean you’re unlikely to capture anything other than tourist snaps, rather than considered travel photos. When traveling with other non-photographers it can be difficult to carve out this time, or explain how you want to sit around in the same spot for half an hour while you wait for the light to shift in your favour. Break off on your own for a bit and arrange to meet the others later if they don’t wish to wait for you to take your pictures. Also when booking your accommodation, try and stay somewhere close to the locations you want to photograph. This makes it easy to get up early and stroll down to the best photo spots, rather than staying out of town and it being difficult to get to the action.
Staying in Manhattan meant I could capture sunrise skylines without getting out of bed!
7) Consider your composition
Remember to follow the tried and tested rules of composition, and you can’t go far wrong! When framing up, consider the Rule of Thirds which divides the frame into three equal horizontal and vertical sections; try imagining a noughts and crosses grid over the image. Place your key items of interest where these points intersect - they are your powerpoints of composition. Also look for any foreground interest to use in your shot. This could be anything such as cobbled paving or elements of flora and will help anchor the shot and lead the viewer’s eye into the scene. Look for lead-in lines too. These are natural elements that are linear in nature such as pavements, railings or power lines, and will also help guide the eye from the edge of the frame towards the key point of interest.
Consider the rules of composition to create more balanced images
8) Shoot in RAW mode
If you want to maximise the potential of your shots then it’s best to set your camera to shoot RAW files rather than JPEGs, or RAW + JPEG if you prefer! RAW files allow you to adjust exposure, contrast, colour balance and much more with far more scope than you can with a JPEG as they are uncompressed camera data. This offers a great safety net if you don’t perfectly nail your exposure at the time of capture, and also allows for much more creativity in the edit. You will need to process your shots in software like Lightroom or Photoshop, and the images captured are a larger file size so you’ll fill your cards quicker, but you’ll be sure of creating much more visually pleasing images.
If you shoot in RAW you have more control over tones and detail when you edit
. digitalrev.com2018-2-20 03:00