Introduction You’ve bought your first camera. You’ve bought some film. You’re ready to load up and start shooting. What could possibly go wrong? Lots of things! When you make a mistake with your digital camera, you’ll know right away, but with film, it’s not until days or weeks later, when you’re home from your once-in-a-lifetime trip that you discover you’ve screwed up the picture you can never re-create.
This is what makes film so awesome.
The good news is that you are not alone – with film, mistakes are part of the process. I can’t stop you from screwing up (and I wouldn’t want to, because misery loves company), but I can give you a heads-up on common mistakes to look out for – and, in some cases, how to fix them.
Photos by: Dan Bracaglia (except where noted)
1. Loading the camera wrong
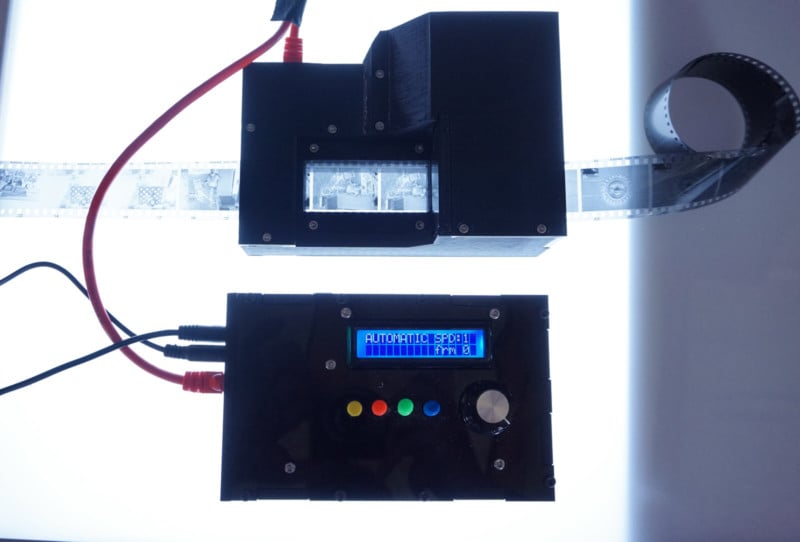
Nearly every film shooter will at some point get developed negatives back from the lab with nothing but edge writing and numbers on them. There are two possibilities: 1) Your light meter is way, way, way, way, way off, or 2) you didn’t load the film properly.
For 35mm cameras, a good indicator of the latter is that you loaded a 36-exposure roll last week and you're on your 67th shot. Take-up reels don’t always grab the film properly, so make sure you fire-and-wind at least one shot before you close up the camera in order to verify that the film is moving, and once the back is closed, rotate the rewind lever to (gently) tension the film.
If the winder continues to rotate freely, that means the film sprockets didn't engage (and commiserations – you just accidentally rewound an unexposed roll of film). If you loaded the camera correctly, once the slack has been taken up, the rewind knob should turn on its own as you advance the film.
For medium-format cameras, a surprisingly common misstep is loading the film backwards so that the backing paper, not the film, faces the lens. You might say, “Well, the backing paper has writing on it. How stupid must I be to get that wrong?” But in the case of cameras that use detachable film magazines, things can get very confusing indeed, because the paper markings will be facing inwards on the magazine. So a better question to ask is, “How stupid must the camera be?” Take it slow, visualize how the magazine fits into the camera and you should be fine. Better yet, read the manual.
2. Trying to load a camera that’s already loaded
Not all cameras have a nifty little film window.
This is another of the classic "oh crap" moments in film photography: You pop open the back of the camera and see there’s already film there. (Alternatively, you drop the camera and the back opens. Happens to all of us. ) The very first thing to do – preferably during and not after the obligatory cursing – is to close the camera back right away. (Seems obvious, but we all get paralyzed by disbelief. )
Have you just ruined all your pictures? Probably not. You’ll definitely lose the current exposure, and the two or three previous will likely be spoiled or partially fogged. But most cameras wind the film tightly enough that the rest of the photos will be okay if you get the back closed quickly enough. Film still in the cartridge will be fine; just fire off a couple of “blank” shots to get past the film that was exposed when you opened the back.
Some 35mm auto-wind cameras, like Canon Rebel SLRs, protect against this sort of thing by winding all of the film out of the cartridge when you load them and then rewinding as you shoot. That way, any pictures you've already taken are safe, and it's only possible to ruin the unexposed portion of the film. (Isn’t it nice to know a camera was designed with the assumption you’d screw up?) Chances are in this situation that the rest of the roll is still usable once you've shot past the frames which are definitely ruined, but if you're shooting anything important, it's best to play it safe – rewind the film and load up a fresh roll.
3. Forgetting if there’s film in the camera
As someone with a bad case of GAS (Gear Acquisition Syndrome), I have a lot of cameras and I can’t always remember which ones I’ve loaded with film. To be fair, I often can’t remember what I had for breakfast or where I left my keys or my children, either. Auto-wind cameras usually have an icon to tell you if they’re loaded, but what about manual-wind cameras that don’t?
Easy solution: Remember earlier how we tested that the film was loaded properly by tensioning the film with the rewind knob? That trick will also tell you if there's film loaded. Pop out the rewind lever and rotate the knob gently. If there’s film, it should move freely at first then start resisting as you take up the slack. (Don’t turn with too much force or you may rip the sprockets on the film. )
4. Shooting a roll of film at the wrong speed
You rewind your last roll of film, pop in a new one, go to set the ASA/ISO dial, and your heart sinks – you see the dial is set at 100, but the film you just pulled out is 400. Cue the movie guy running in slo-mo and yelling “NOOOOOOOO!!!”
Panic not, my petal, for this is a common mistake with an easy fix. If youlity. (Traditional-process black and white and some “pro” print films are less forgiving, and slide film even less so. ) If in doubt, just tell your lab what happened. If necessary, they should be able to compensate with processing (albeit sometimes at extra cost).
5. Changing the ISO (ASA) dial on the fly
Nope, can’t do that with film! On a digital camera, turning the ISO dial changes how the camera records images, but on a film camera all it does is calibrate the meter so that you get correct readings for the film speed you’re using. If you want consistent metering (and you usually do) the whole roll has to be shot at the same ISO. The only exception to this is for exposure compensation. If you're shooting ISO 200 film on a bright snowy day, setting the ISO to 100, or even 64, will help compensate. Similarly, if you're shooting a moody portrait of someone wearing dark clothing, setting the ISO dial to 400 or 800 will prevent skintones from coming out too dark.
Many more advanced film cameras offer a dial with +/-2 stops of exposure compensation to make this easier to get your head around, but it's the exact same thing (with the advantage that it's quicker to dial in, and you're less likely to forget to unset the compensation later).
You also have the option of pushing or pull your film. Pushing is when you intentionally under-expose your film, then compensate by over-developing, and pulling is the opposite. The pictures won’t be perfect; they may have more grain, more or less contrast, or color shifts, but they will come out. (Some film stocks respond better to pushing and pulling than others. ) Why would anyone do this? Sometimes it can lead to an interesting look, and it’s also a handy way to get more (or less) sensitivity in a pinch.
For example, when shooting indoors under low light, instead of using dedicated high-speed film, I push my 400-speed Ilford HP5 Plus film two stops by setting the meter to 1600, then alter my developing as outlined on the data sheet. There’s more grain and contrast, but I happen to like the look.
6. Letting the light meter lie to you
Modern digital cameras have sophisticated multi-zone meters that can figure out tricky lighting situations. I’m amazed at how even my phone can get pictures that would be impossible for most film camera meters to sort out. Then again, I’m amazed that my phone can make phone calls and that they can fill up soda bottles without the soda fizzing all over the factory. Seriously, how do they do that?
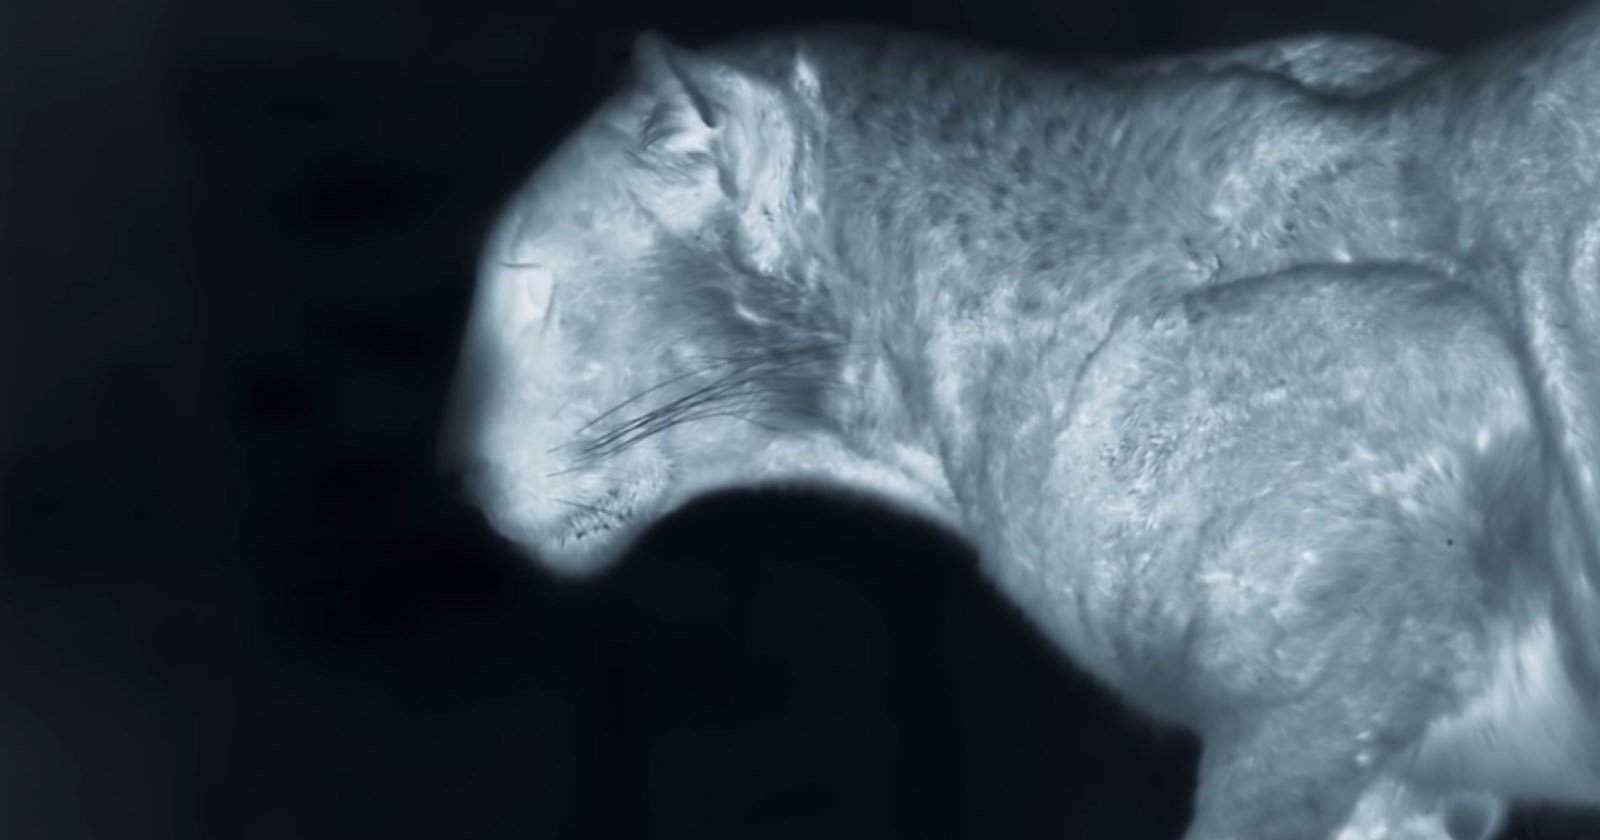
Anyway, multi-zone metering was in its infancy when film gave way to digital, and most film camera meters are center-weighted, meaning they take an average of the scene with more emphasis on what’s in the middle (presumably what you’re pointing the camera at) and a little less on the top part (presumably the sky, which screws things up when you rotate the camera for a vertical shot). As I mentioned earlier, bright or dark backgrounds, deep shadows, snow, nuclear fireballs and other scenes with large light or dark patches can fool the meter and throw off your exposure.
What do to? Serious photographers carry a gray card, but serious photographers tote enough gear to flatten a pack mule. In a pinch, you can take a meter reading off the grass or a patch of medium-toned fabric – just make sure the camera is pointing in the same general direction as your subject. If the readings are different, the scene is probably fooling your camera's meter and you should adjust accordingly.
If in doubt (and assuming you don't mind burning through film a little faster) just take a handful of shots at slightly different exposure settings to make sure. At least one of them is likely to turn out.
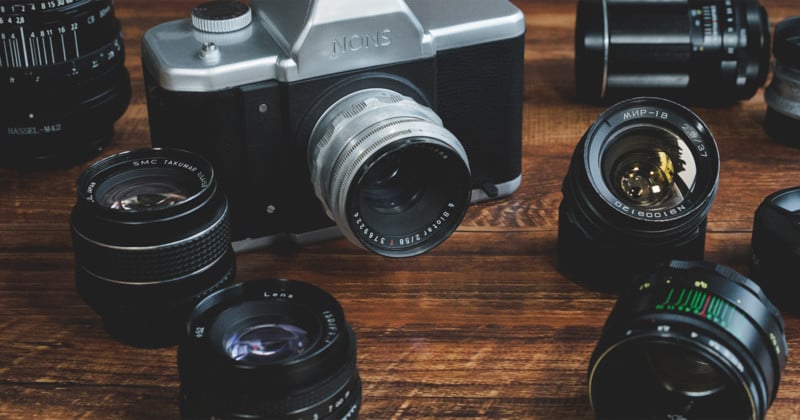
7. Asking on a forum which film is best
Asking a bunch of photographers which film is best is like asking them which letter of the alphabet is best. As sure as loading 800 ASA film makes the sun come out and 50 ASA makes it rain, you’ll get 85 replies and no consensus. That’s because different films have different characteristics, and “best” is a matter of personal preference (which is why there are so many choices). Everything I’ve ever read on any forum about a given film being good or bad has been wrong – not because the people don’t know what they were talking about (though a couple obviously didn’t), but because the question of film quality is so subjective.
The best way to find the right film for you is to try different kinds and see what you like. I recommend starting with well-known staples like Kodak Gold or Ilford HP5+ to get some sort of a baseline for yourself. (Best not to start with slide film, as it’s really picky about proper exposure. ) Then you can ask a different kind of question on the forums: “I’ve been shooting BlastMax 200 and I was thinking about trying a roll of Elbowchrome. What can I expect?” Now that your fellow shooters know your baseline, they can give you a more meaningful answer by comparing the new film to what you know. Better yet, don’t ask – just buy a roll and decide for yourself.
8. Getting obsessed with the Zone System
For those who haven’t heard of it, the Zone System is how famed landscape photographer Ansel Adams made his amazing black-and-white landscape photos. It’s an elaborate method that involves treating exposure, developing and printing as a unified system: you make adjustments in one part of the process that are compensated by adjustments in the others. Incidentally, you can use a form of the Zone System in digital photography, and it’s quite a bit easier since your “processing” is electronic.
The Zone System has understandable appeal to digital photographers who are used to mining the data to draw details out of their exposures. If youe yourself options, and always a good idea with slide film. Better to concentrate on things like composition, because a boring photo is a boring photo no matter how perfectly it’s exposed.
Photo: Ansel Adams / US National Archives and Records Administration
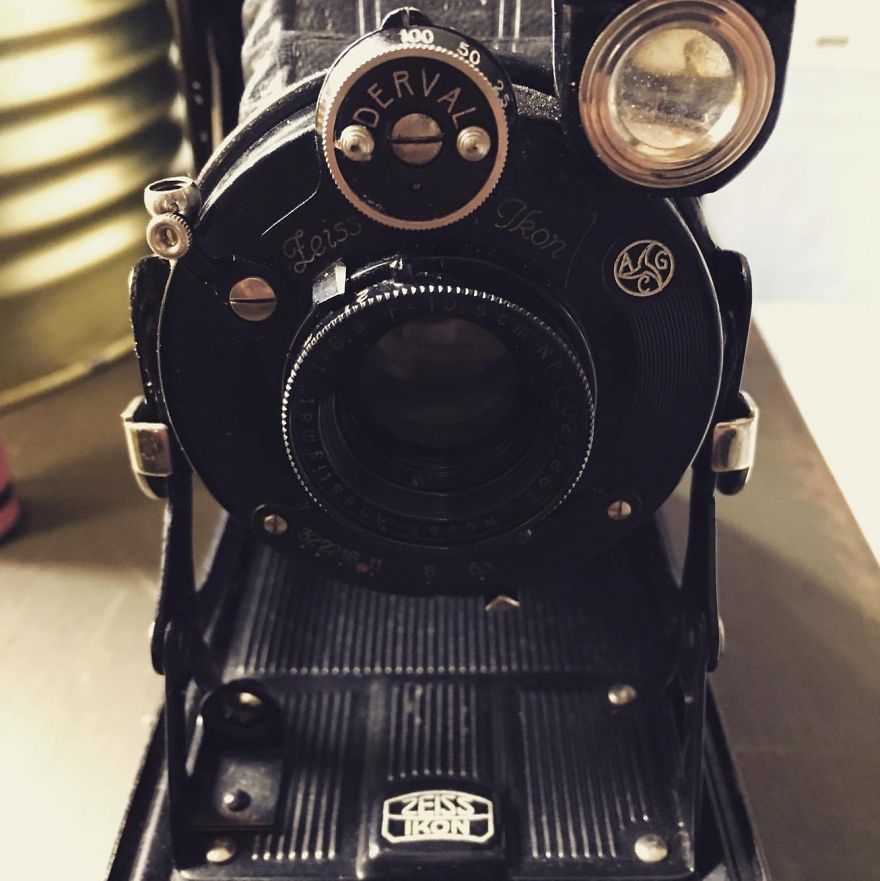
9. Starting with slide film
Someone recently wrote in DPReview’s Film Photography Talk forum, “If you want to hate film photography with a passion, start with slide film. ” Truer words have never been typed. This isn’t a mistake all newbies make, but it’s one to be avoided. Here’s the deal: Slide film is exceptionally sensitive to proper exposure. If you (or your camera) is off by even a little, the picture won’t look good. Back In The Day, shooting slide film gave you bragging rights, but that’s when the film and processing didn’t cost much more than print film. You could afford to burn half a roll by bracketing (shooting pictures over and under your camera’s meter reading) to get that perfect shot.
Today, slide film and its processing is more expensive, and with so many photographers using a digital workflow (scanning and printing), many negative films are now optimized for scanning. Slides are still cool, slide film is typically sharper and finer grained than equivalent print emulsions, and slides look great when projected. If you want to shoot slides, I certainly won’t try to stop you. But I suggest waiting until you have some experience with your camera.
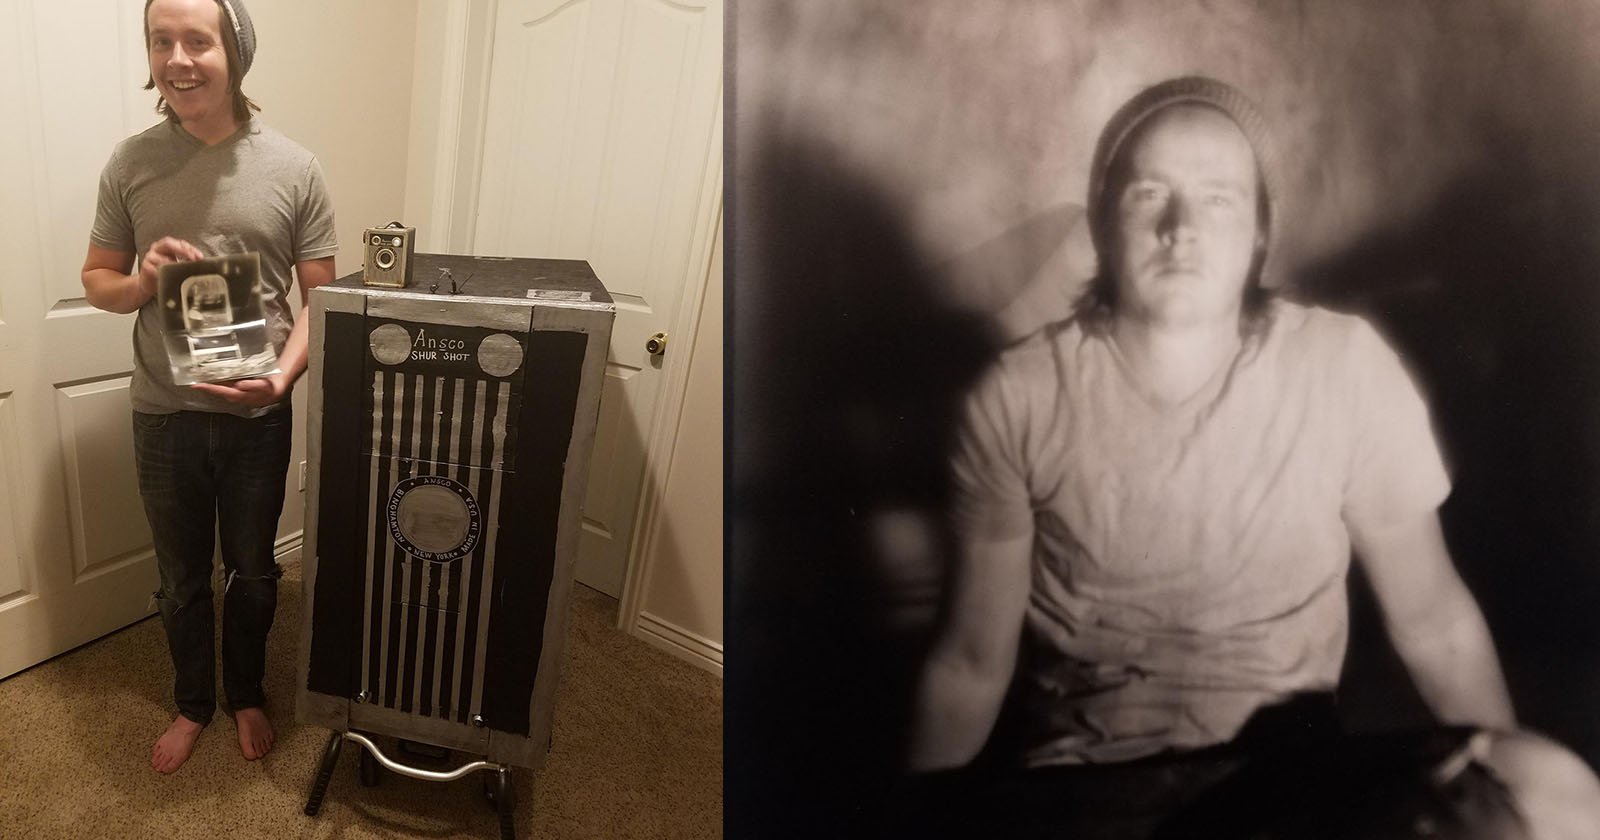
10. Not using UV filters
Neglecting to fit a UV filter is a mistake you might not realize you’ve made until it’s too late. Though they do filter UV light (not really a concern with modern films; older film stocks could go a bit blue without one) their real job is to protect your lens in case you drop the camera or hit it against something, which I absolutely guarantee you will do at some point. And yes, this is experience talking – I’ve done it both ways. Most recently, I had a Nikon zoom fall off a shelf and land face-down. The $8 filter shattered and the $50 lens was unscathed. I could have kissed that filter, except that putting broken glass to your lips is a bad idea.
I’ve heard people argue against protective filters by saying that a shattered filter could scratch the lens surface, but this is rare. I have, however, heard many, many, many stories about photographers bashing their cameras into rocks or walls or furniture or people and having the UV filter save the lens. UV filters cost from $5-$10 up to $100+ (personally I use these Amazon Basics filters) and they're worth it, protecting you from the consequences of bad spur-of-the-moment decisions.
Photo: Magnus Akselvoll
. dpreview.com2020-5-8 16:00